
Achieving a flawless, waterproof finish with epoxy grout sealant requires more than just a high-quality product—it demands the right tools. Whether you’re a DIY enthusiast or a professional contractor, using the correct equipment ensures precise application, smooth leveling, and long-lasting durability. In this guide, we’ll explore the must-have tools for applying CUALI’s two-tube epoxy grout sealant, from caulking guns to sealing balls, and explain how each contributes to a seamless installation.
Why Tool Selection Matters for Epoxy Grout Sealant
Epoxy grout sealant is renowned for its strength, stain resistance, and waterproof properties. However, its thick, fast-curing formula requires specialized tools to handle its unique characteristics:
•Precision Dispensing: The two-tube cartridge system needs a compatible caulking gun for even mixing.
•Efficient Leveling: Proper tools prevent air bubbles and ensure the epoxy grout sealant fills joints completely.
•Clean Finishes: Specialty scrapers and shavers remove excess sealant without damaging tiles.
Using subpar tools can lead to wasted material, uneven joints, or adhesion failures. Let’s break down the essentials.
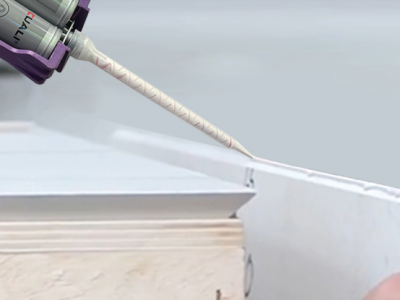
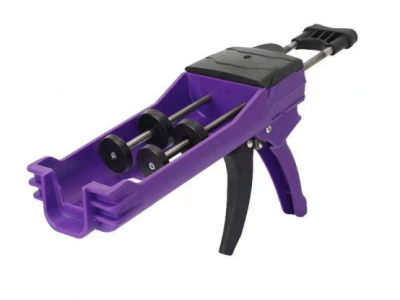
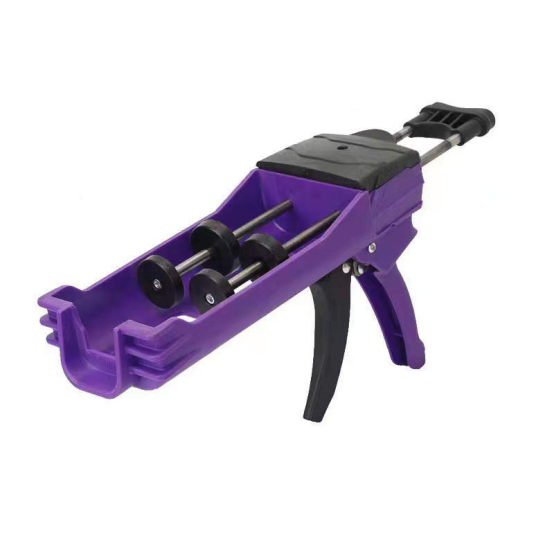
1. Dual-Chamber Caulking Gun
Role in Epoxy Grout Sealant Application
The dual-chamber caulking gun is the backbone of two-tube epoxy grout sealant systems. It holds the resin and hardener cartridges, applying equal pressure to both tubes to ensure proper mixing.
Key Features to Look For
•1:1 Mixing Ratio: Guarantees resin and hardener are dispensed equally.
•Ergonomic Grip: Reduces hand fatigue during large projects.
•Smooth Trigger Action: Allows controlled flow of epoxy grout sealant.
Pro Tip: Pair CUALI’s epoxy grout sealant with a high-quality caulking gun to avoid clogs or uneven mixing.
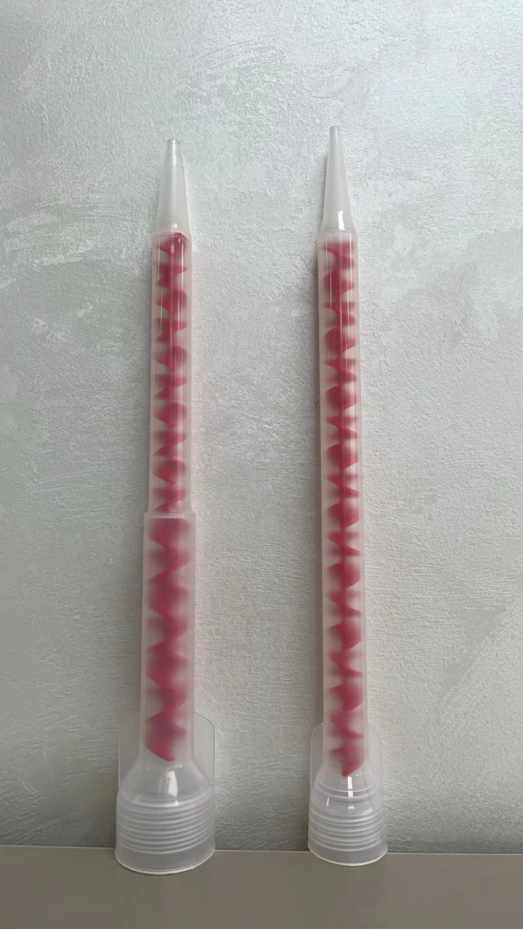
2. Static Mixing Nozzles
Role in Epoxy Grout Sealant Application
Static mixing nozzles attach to the cartridge and blend the resin and hardener as the epoxy grout sealant is dispensed. They ensure a homogenous mix, critical for proper curing.
Key Features to Look For
•Helical Baffles: Create turbulence to thoroughly mix components.
•Disposable Design: Replace after each cartridge to prevent cross-contamination.
•Multiple Lengths: Choose nozzles that match your joint width (e.g., 5–10mm).
Pro Tip: Always discard the first 5–10ml of epoxy grout sealant to clear unmixed material from the nozzle.
3. Plastic Scrapers or Leveling Tools
Role in Epoxy Grout Sealant Application
After applying the epoxy grout sealant, plastic scrapers or leveling tools smooth the material into joints, remove excess, and eliminate air pockets.
Key Features to Look For
•Flexible Blades: Conform to tile edges without scratching surfaces.
•Angled Edges: Help press epoxy grout sealant deep into joints.
•Non-Stick Coating: Prevents sealant from sticking to the tool.
Pro Tip: Work diagonally across tiles for even pressure and minimal residue.
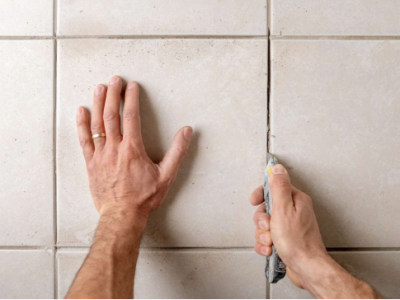
4. Sealing Balls or Grout Smoothers
Role in Epoxy Grout Sealant Application
Sealing balls (also called grout smoothers) are rounded tools used to compress and shape epoxy grout sealant into joints. They create a concave finish that resists cracking.
Key Features to Look For
•Silicone or Rubber Material: Gentle on tile surfaces.
•Multiple Sizes: Match the ball diameter to your joint width.
•Easy-to-Clean Surface: Wipe with acetone after use.
Pro Tip: Dampen the sealing ball slightly to reduce friction while smoothing CUALI’s epoxy grout sealant.
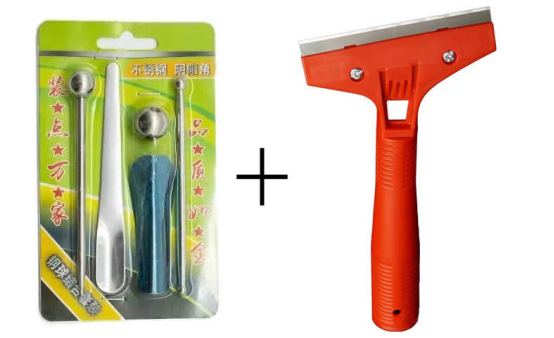
5. Utility Knives or Grout Shavers
Role in Epoxy Grout Sealant Application
After curing, utility knives or grout shavers remove excess epoxy grout sealant from tile edges without damaging surfaces.
Key Features to Look For
•Retractable Blades: Ensure safety during use.
•Stainless Steel Construction: Resists corrosion from epoxy residues.
Pro Tip: Hold the blade at a 45° angle and scrape gently to avoid gouging tiles. For additional cleaning of residual particles, a soft-bristle brush or besom can be used to sweep away loose debris.
6. Painter’s Tape
Role in Epoxy Grout Sealant Application
Painter’s tape protects delicate tile edges or adjacent surfaces from accidental epoxy grout sealant stains.
Key Features to Look For
•Low-Tack Adhesive: Removes cleanly without residue.
•Weatherproof Variants: Ideal for outdoor projects.
Pro Tip: Apply tape 1–2mm away from joints to avoid interfering with sealant application.
7. Joint Cleaners and Vacuums
Role in Epoxy Grout Sealant Application
Before applying epoxy grout sealant, joint cleaners (e.g., wire brushes) and vacuums remove debris from gaps to ensure strong adhesion.
Key Features to Look For
•Stiff Nylon Bristles: Scrape out old grout without damaging tiles.
•HEPA Filters: Capture fine dust particles for a cleaner workspace.
8. Protective Gear
Role in Epoxy Grout Sealant Application
Safety goggles, nitrile gloves, and masks protect users from epoxy grout sealant fumes and skin irritation.
Key Features to Look For
•Chemical-Resistant Gloves: Shield hands during prolonged use.
•Ventilated Masks: Filter out volatile organic compounds (VOCs).
Why CUALI’s Epoxy Grout Sealant Pairs Perfectly with These Tools
1.Optimal Viscosity: CUALI’s epoxy grout sealant flows smoothly through caulking guns and nozzles without clogging.
2.Extended Working Time: Allows ample time for leveling and cleaning with sealing balls or scrapers.
3.Low Odor Formula: Reduces the need for heavy-duty respiratory protection.
4.Color Consistency: Ensures uniform results when paired with precision tools.
Pro Tips for Tool Maintenance
1.Clean Tools Immediately: Wipe caulking guns, nozzles, and scrapers with acetone before epoxy grout sealant hardens.
2.Replace Worn Nozzles: Clogged or deformed nozzles compromise mixing efficiency.
3.Store in Dry Conditions: Prevent rust on metal tools by keeping them in a moisture-free environment.
FAQs About Epoxy Grout Sealant Tools
Q: Can I reuse mixing nozzles for epoxy grout sealant?
A: No—static nozzles are single-use to prevent cross-contamination.
Q: What’s the best caulking gun for two-tube cartridges?
A: Use a 1:1 dual-chamber gun designed specifically for epoxy grout sealant.
Q: How do I remove dried epoxy grout sealant from tools?
A: Soak tools in acetone or a specialized epoxy solvent, then scrub with a wire brush.
Conclusion: Elevate Your Grout Game with the Right Tools
Applying epoxy grout sealant like a pro isn’t just about skill—it’s about having the right tools. From dual-chamber caulking guns to sealing balls, each tool plays a vital role in ensuring CUALI’s epoxy grout sealant delivers waterproof, durable, and visually stunning results. By investing in quality equipment and following best practices, you’ll transform tedious grout work into a seamless, satisfying process.
Ready to equip yourself for success? Explore CUALI’s epoxy grout sealant and tool recommendations today—where precision meets performance.